
DIY Photoboard
The whole internet is full of Bowwow challenges and Instagram food photographers are repeat offenders. It really doesn't matter how the food tastes as long as it looks delicious.

On my path to becoming the best food blogger I can be, I began to research how to capture amazing photos that I see on Instagram. One of the concepts I learned that makes your photos pop is having a clean background. At first I was thinking like dang all these people have the same kitchen set up until I discovered that they were using photo boards as their background. I did some more research and found a few companies that sold photo boards. They were a bit too expensive for my liking (I'm pretty frugal) and I just couldn't justify spending $50+ on a board. So I decided I'd make my own!
I am a DIY Queen! I do my own hair, I do my own nails, I do projects around the house etc. One day I happen to walk through the Dollar Tree (the G.O.A.T) and see a foam board in the school supplies section that reminded me of the photo board. It was about the same size and had some thickness to it, making it kind of sturdy. It clicked in my mind that I could make a similar photo board by just covering the foam board with some decorative wrapping paper.
When I went to search on Amazon for some wrapping paper, I ran across something even better: a roll of vinyl self adhesive wall paper.
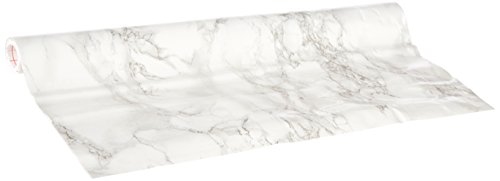
There were so many different options to choose from (Maple Wood, Beach Wood, Grey Oak, Brown Granite, Rustic Wood, Black, etc) but I went with the grey marble. I recently dined at Lumen Detroit and their small plates were marble and I instantly fell in love!
Supplies & Instructions
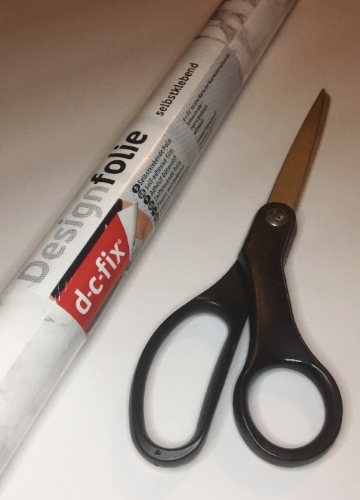
- Self-Adhesive Film (Grey Marble - link above)
- Scissors or Blade
- Foam Poster Board
(1) Measure and cut roll about an inch longer on each side of the foam board
(2) Peel off back of adhesive roll and carefully place onto the foam board wrapping the excess onto the back of the board
(3) Smooth out all air bubbles
(4) Take some cool photos!
This process was super simple and took me only about twenty (20) minutes to complete and it cost me under $10! The film was $8.98 and the board was $1.00 for a grand total of $9.98!

Before
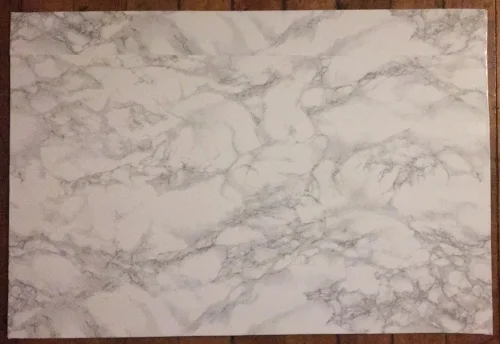
After
The board turned out awesome! It's light and the marble design on it looks amazing. The only flaw that I can see with this board is that it has a glossy finish so it reflects back any light. The biggest plus was the cost! I could make about 5 of my DIY boards for the price of one pre-made board.
Here is a sample of some food photography on my DIY Photo board!

Taken on an iPhone 8 with no additional editing
If you're not as crafty as I am, you can always just purchase a board like this one!
Medium Photo Board
28 in x 22 in x 1/5 in
Waterproof
Matte
$48
0 minutes
DIY Photo Board
20 in x 30 in x 1/5 in
Waterproof
Glossy
$10
20 minutes
In this instance the Bowwow challenge definitely applies and has some great results! I still love Bowwow by the way! If I saw him in person I'd have my boyfriend A.K.A Mr Etiquette take our photo!
Share this post if you thought this was awesome! If you have some more ideas on how to blog on a budget, please comment below!